Feeling accomplished after a customer’s first successful purchase? I bet that is the feeling that rushes through your mind as a Shopify store owner. But is that the end or the means to doing more?
Table Of Content
1. Article Brief
2. How To Integrate (Install) A Thank You Page Builder App On Your Shopify Store
3. How To Create A Test Order After Using The Thank You Page Builder App
4. How To Deactivate The Test Order
5. Wrap
After every purchase made on your Shopify store by your customers, the order status page is the page that appears on their screen post-payment.
So what happens after a customer has made payment for their order? Do you have to give a little more marketing effort to retain this customer or do you want to let them go finally because you have achieved the first goal of getting them to buy?
Post-Purchase Customer Experience Using The Shopify Thank You Page
Ideally, your goal will be to make a returning buyer out of every customer after they have paid for their orders. This takes us to optimizing the thank you page.
Customizing your Shopify store’s thank you page can increase your conversion rate as well as your customer retention rate. The final place a customer experiences your service is the thank you page. On this page, customers may form an opinion about your store or increase their rating.
In setting up, optimizing, and customizing the order status page, the integration of a Thank You Page Builder app is your best bet. Shopify automatically provides every store with a default thank you page to use. However, this page has little marketing magic that can either help attract sales, improve customer experience, or retain more customers for your store.
7 Tips On How To Create The Perfect Thank You Page
Therefore, marketing growth toolkits such as StoreBundle enable Shopify merchants to customize the order status page to convert more sales and strengthen customer relationships.
How To Integrate (Install) A Thank You Page Builder App On Your Shopify Store
As a Shopify merchant, you get access to integrating as many apps as you need from the Shopify app store and use them to grow your store and attract sales. There are different categories of apps on the Shopify app store. Some are for store design, marketing, order management, emailing, and more.
Installing a thank you page builder app is simplified. An app like StoreBundle offers store owners an all-in-one marketing tool with features that are accessible at no cost enabling you to integrate more than 15 marketing tools in just one click.
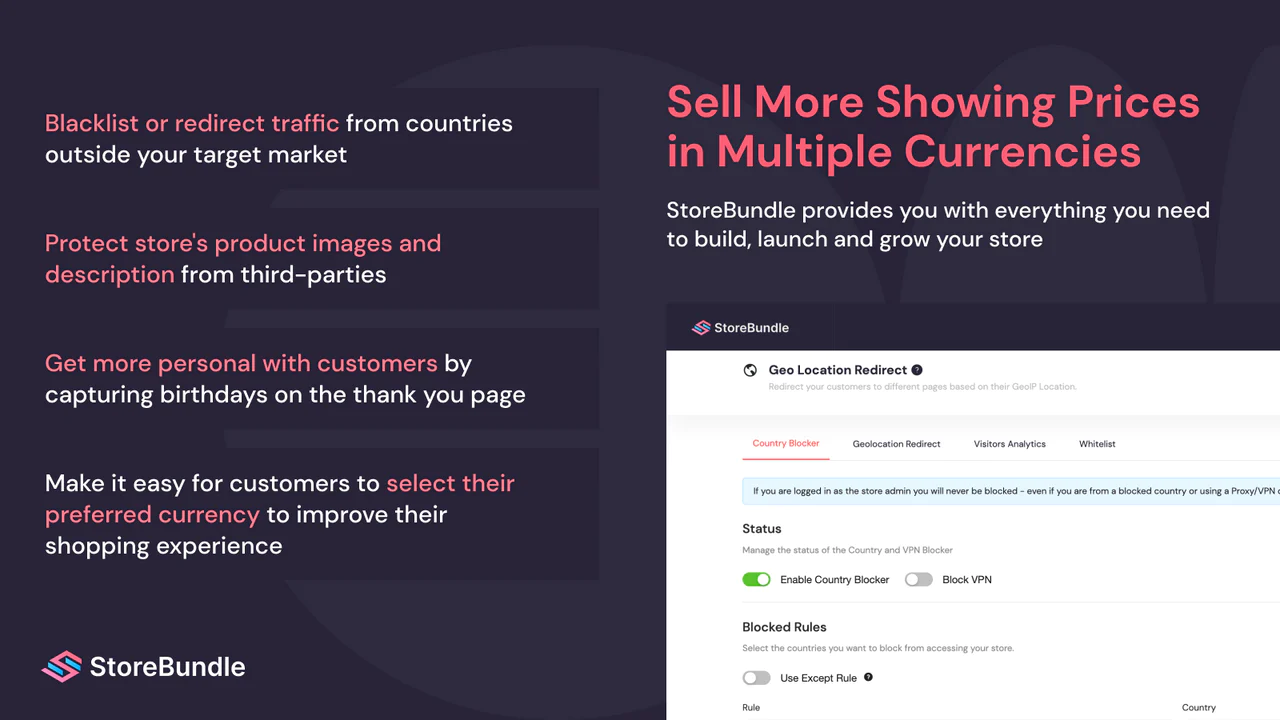
With StoreBundle, you have access to a country blocker app, image and product description protection, optimized search box function, free shipping bar, currency switcher, thank you page builder, and many more.
To integrate StoreBundle, visit the Shopify app store and search for StoreBundle in the search box placeholder. You can also use this quick link to get to the StoreBundle’s landing page on the Shopify app.
Click the add app button and follow the next steps as you will be redirected to your Shopify store’s admin dashboard.
How To Create A Test Order After Using The Thank You Page Builder App
When you create a test order, Shopify will have no charges attached to this order. It is a dummy checkout test procedure to see how every one of your settings is working. So before you create a test order, ensure you have all the necessary details for the payment page, shipping, inventory, and taxes correctly provided.
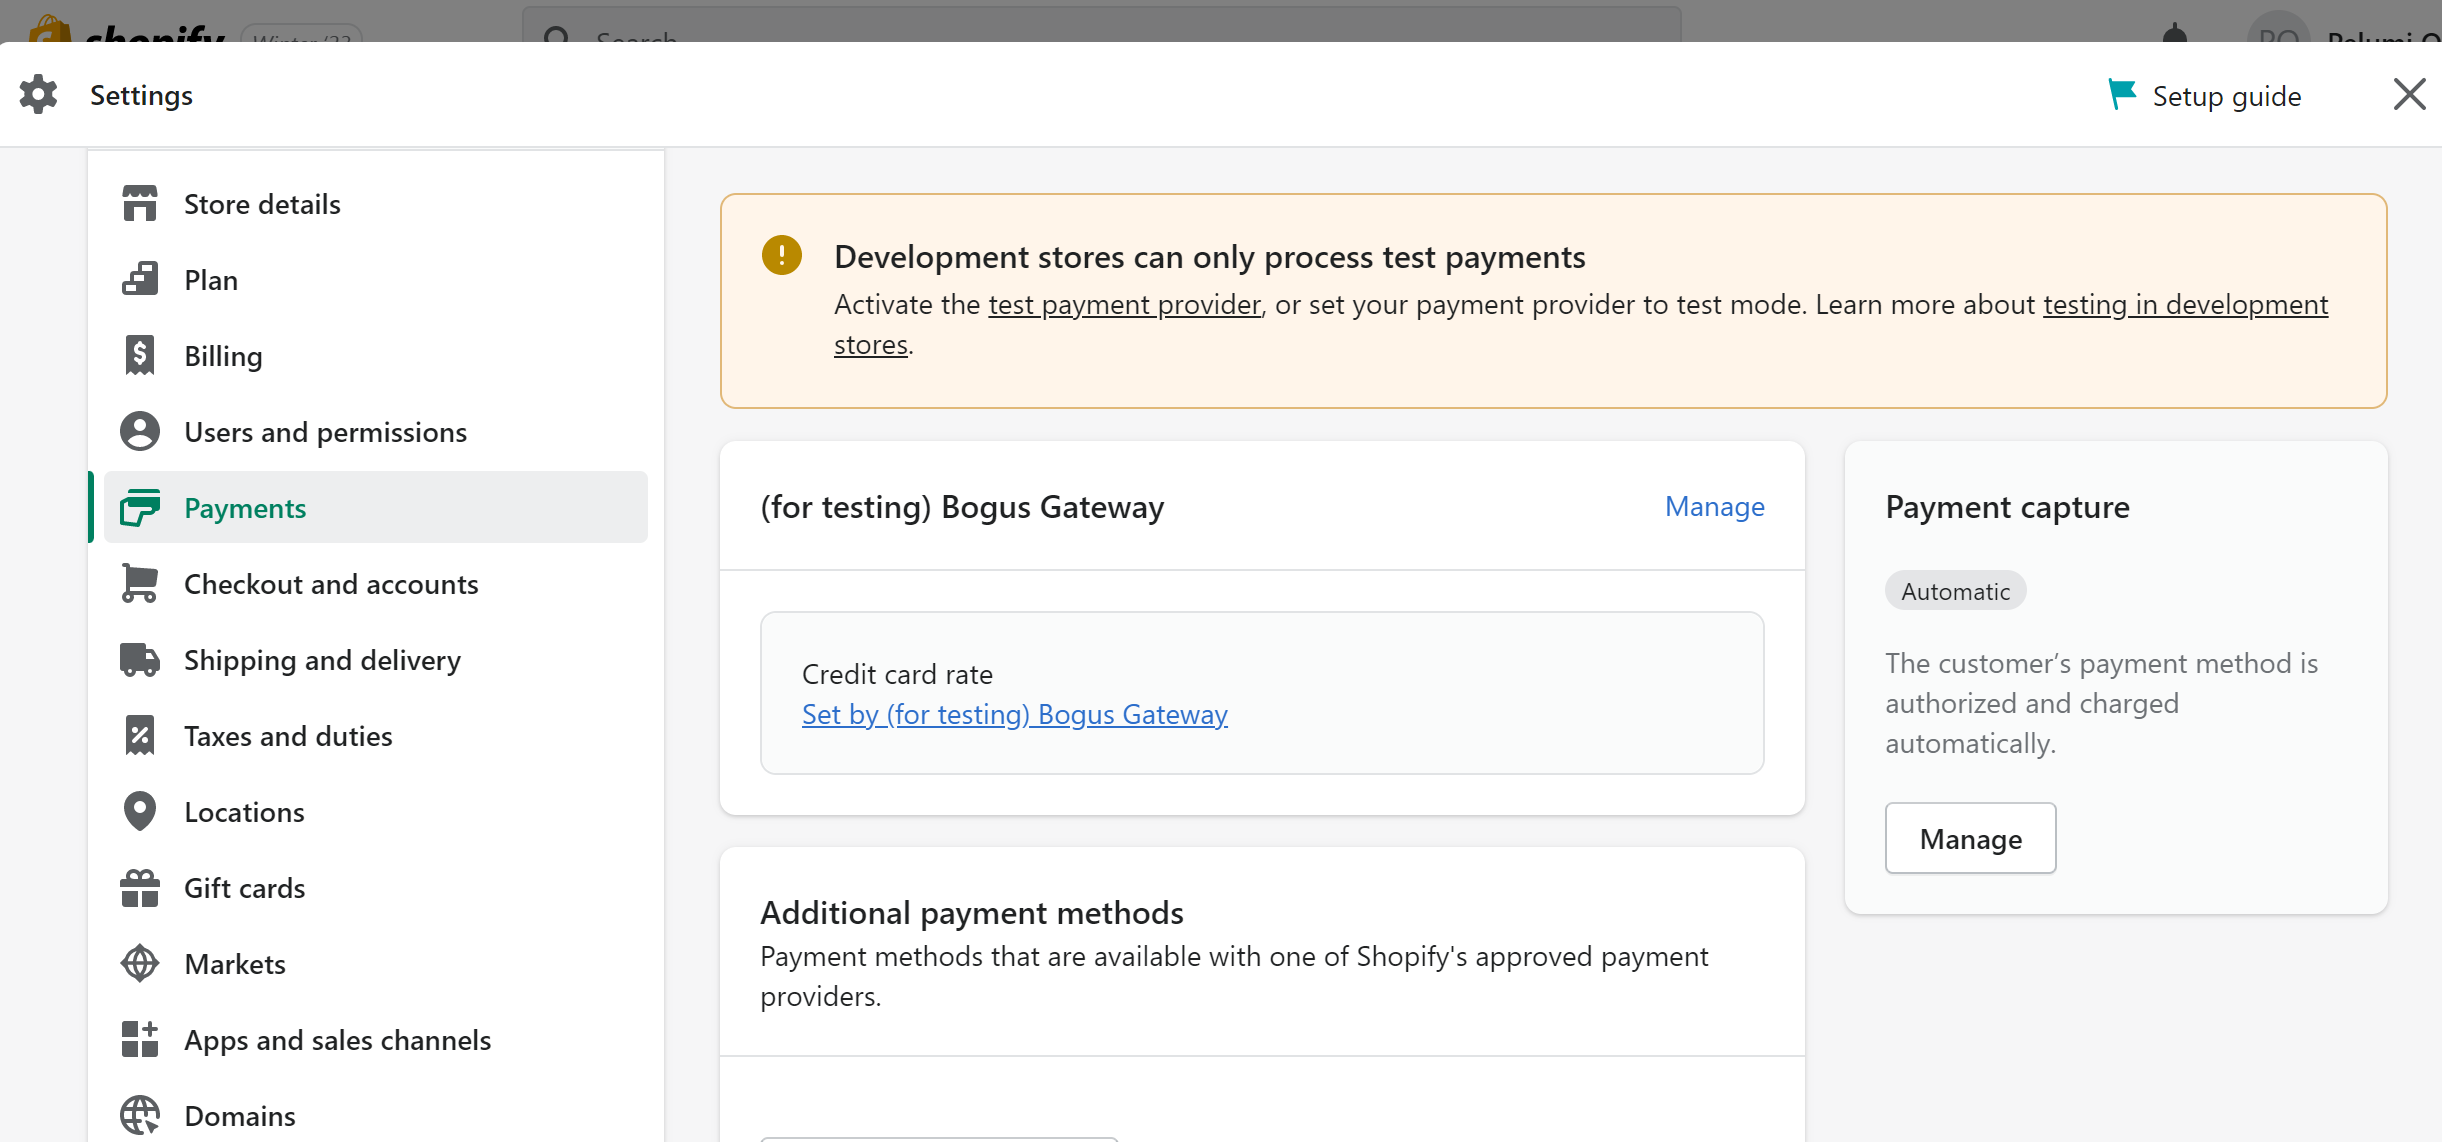
1. From your Shopify admin, go to Settings > Payments.
2. If you have a credit card payment provider enabled, then deactivate it before continuing. Click Manage > Deactivate (this button also shows the name of your payment provider, for example, Deactivate Shopify Payments), then confirm your deactivation.

3. Do one of the following:
– If you have Shopify Payments enabled:
– In the Shopify payments section, click Manage.
– At the bottom of the page, click Switch to a third-party provider, and then click Switch to a third-party provider again to confirm.
– If you don’t have Shopify Payments enabled, then in the Shopify payments section, click See all other providers.
– If Shopify Payments isn’t available in your country, then in the Payment Provider section, click Choose a provider.
4. Select (for testing) Bogus Gateway from the list.
5. Click Activate (for testing) Bogus Gateway.
6. Click Save.
7. Log on to your online store and place an order as a customer would. At checkout, enter the following credit card details instead of genuine numbers:
Card name: Enter Bogus Gateway
Credit card number
Enter each of these in turn to simulate different types of transactions:
Enter 1 to simulate a successful transaction
Enter 2 to simulate a failed transaction
Enter 3 to simulate an exception (this generates a message indicating that an error has occurred with the provider)
CVV: Enter any 3-digit number (for example, 111.)
Expiry Date: Enter any date in the future.
How To Deactivate The Test Order
1. After you’re done testing, click Manage next to (for testing) Bogus Gateway in your Shopify admin.
2. Click Deactivate(for testing) Bogus Gateway to remove this gateway from your checkout.
Wrap
The test order gives you a sight of what your customers are likely to experience when they see the post-purchase page. It also gives you the chance to test and make necessary amendments.
This is the best procedure to undergo before launching your store or before finalizing the customized thank you page from the thank you page builder app.

